Here’s my madcap, somewhat Frankenstein manner of creating and joining toecaps. The needle sizes, stitch numbers, etc are what I am currently using in my prototype. However, the numbers and instructions are adaptable for any sock. The extreme flexibility of my method means you can create these toecaps without having to worry about left/right or front/back. They are totally interchangeable at the point we will be stopping. For the purposes of this tutorial, I’m going to refer to the big toe as the ‘thumb’ and the other toes as the ‘fingers’.
Creating the Open Toe Caps
For something this small, double points are probably best, as opposed to circulars. I am using US #2 (3.00 mm) with some Lorna’s Laces sock yarn. After casting on 20 stitches and dividing between 3 needles (8 st, 6 st, 6 st), I knitted a K1P1 rib for 10 rounds.
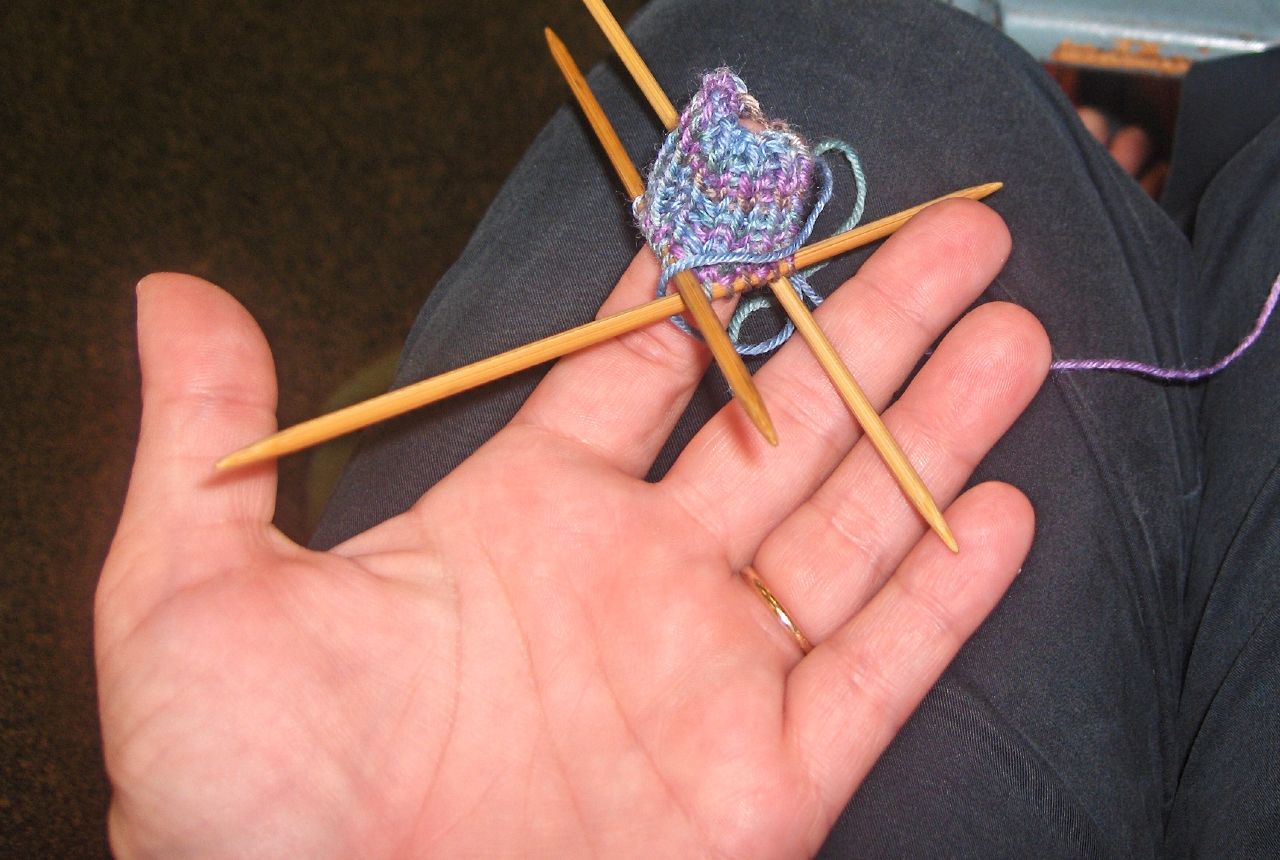

I transferred the completed thumb toe cap to a spare circular for safekeeping, dividing the number of stitches in half, 10 on one side, and 10 on the other. Leaving a somewhat long tail, cut the toe cap from the ball of yarn.

Begin the finger toes cap in the same manner, casting on 40 stitches. Using US #2 (3.00mm) DPNs, knit in a K1P1 rib for 10 rounds.
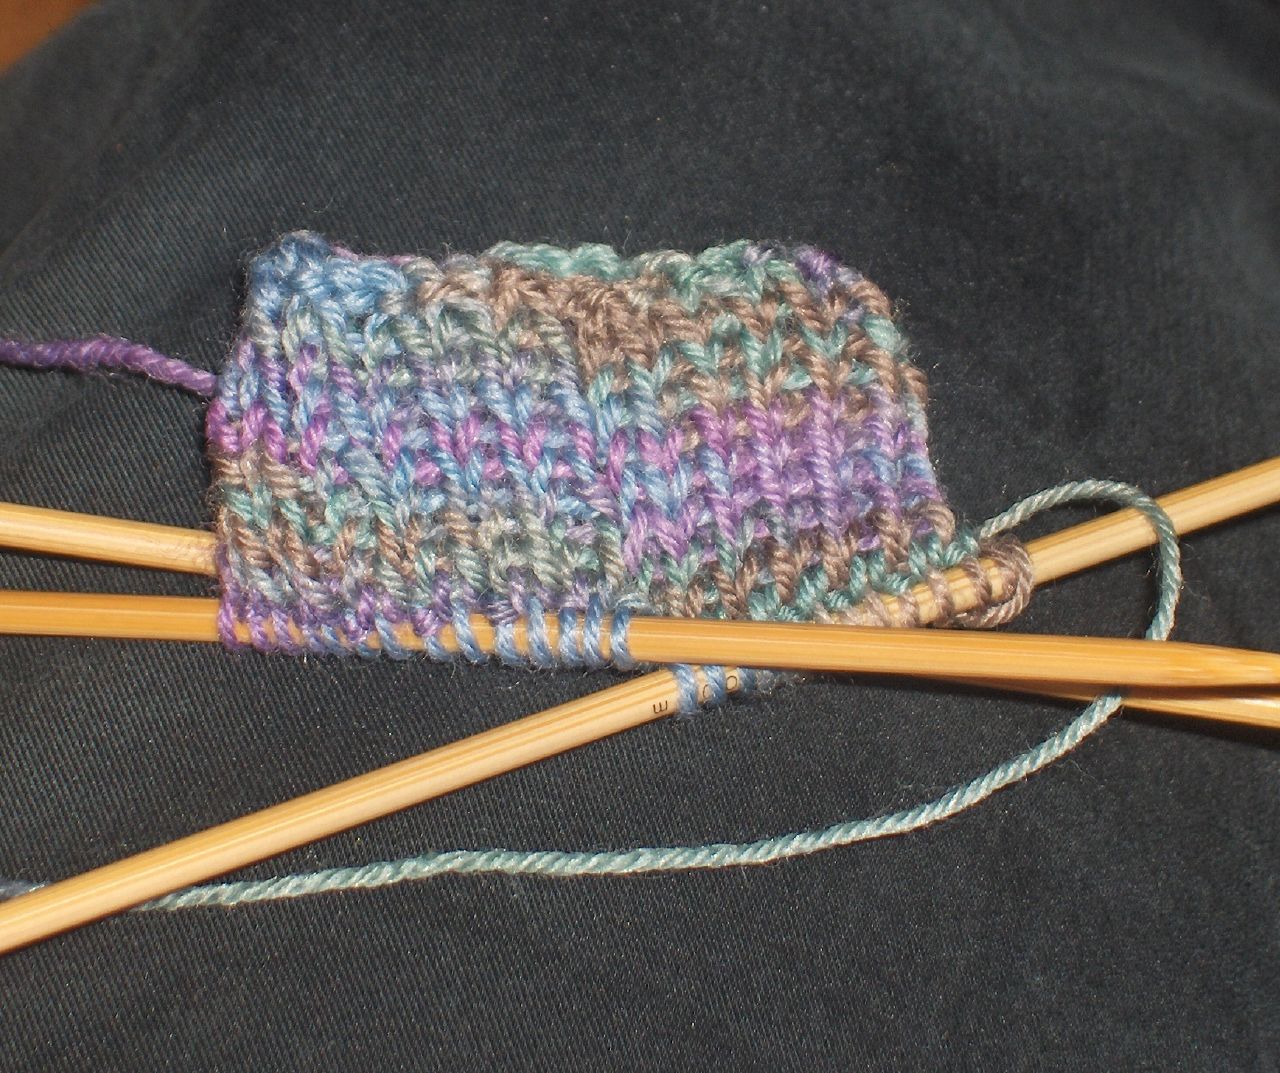
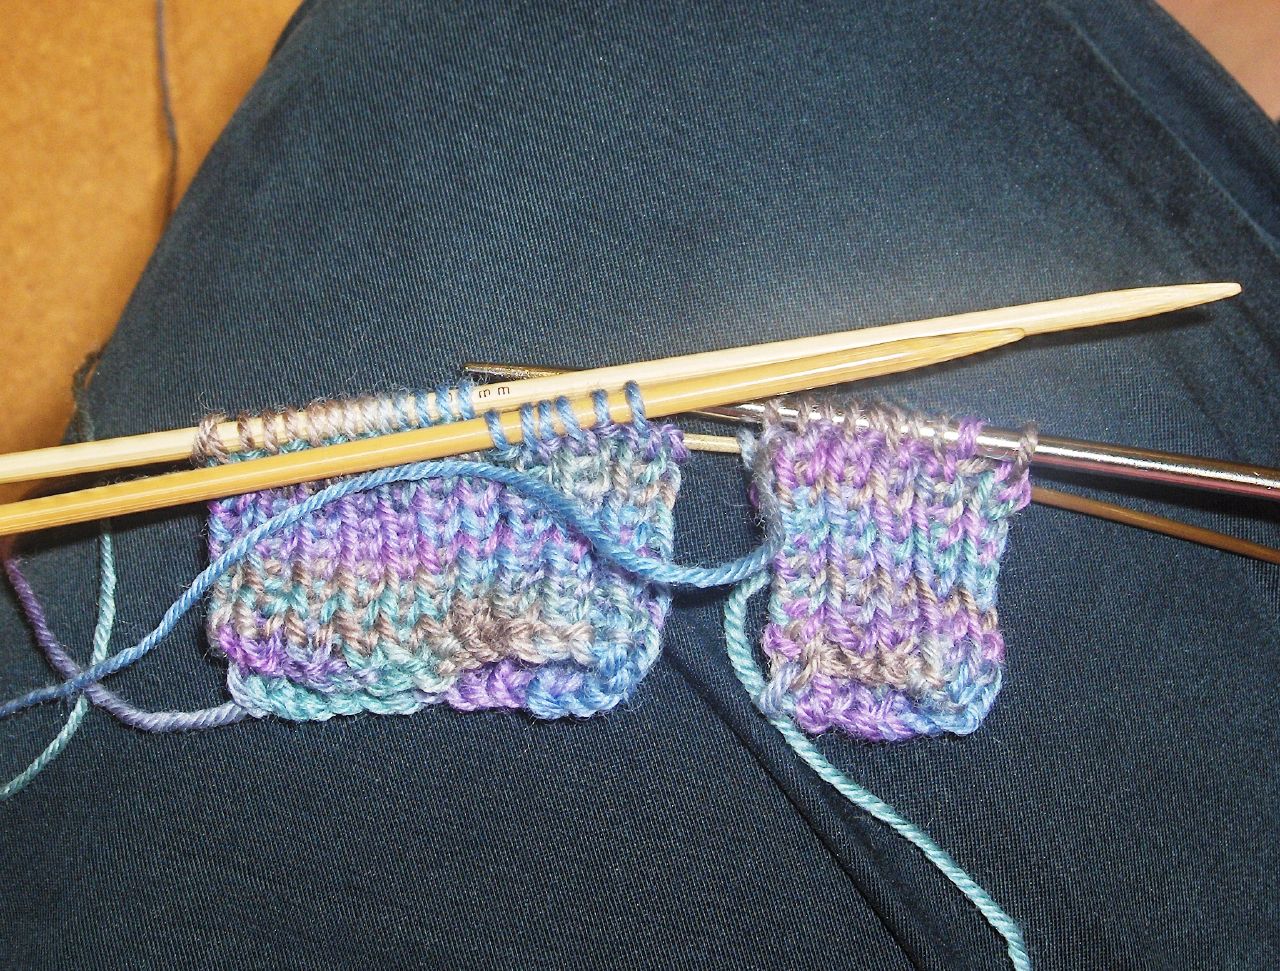
Upon completion, start threading the finger toe cap onto a US #2 circular. Make sure that you’re feeding the stitches in the same order as if you were knitting them, so they will align properly and the yarn will be in the correct place when we’re ready to resume knitting.

When you are finished, you should have 20 stitches on the circular needle.
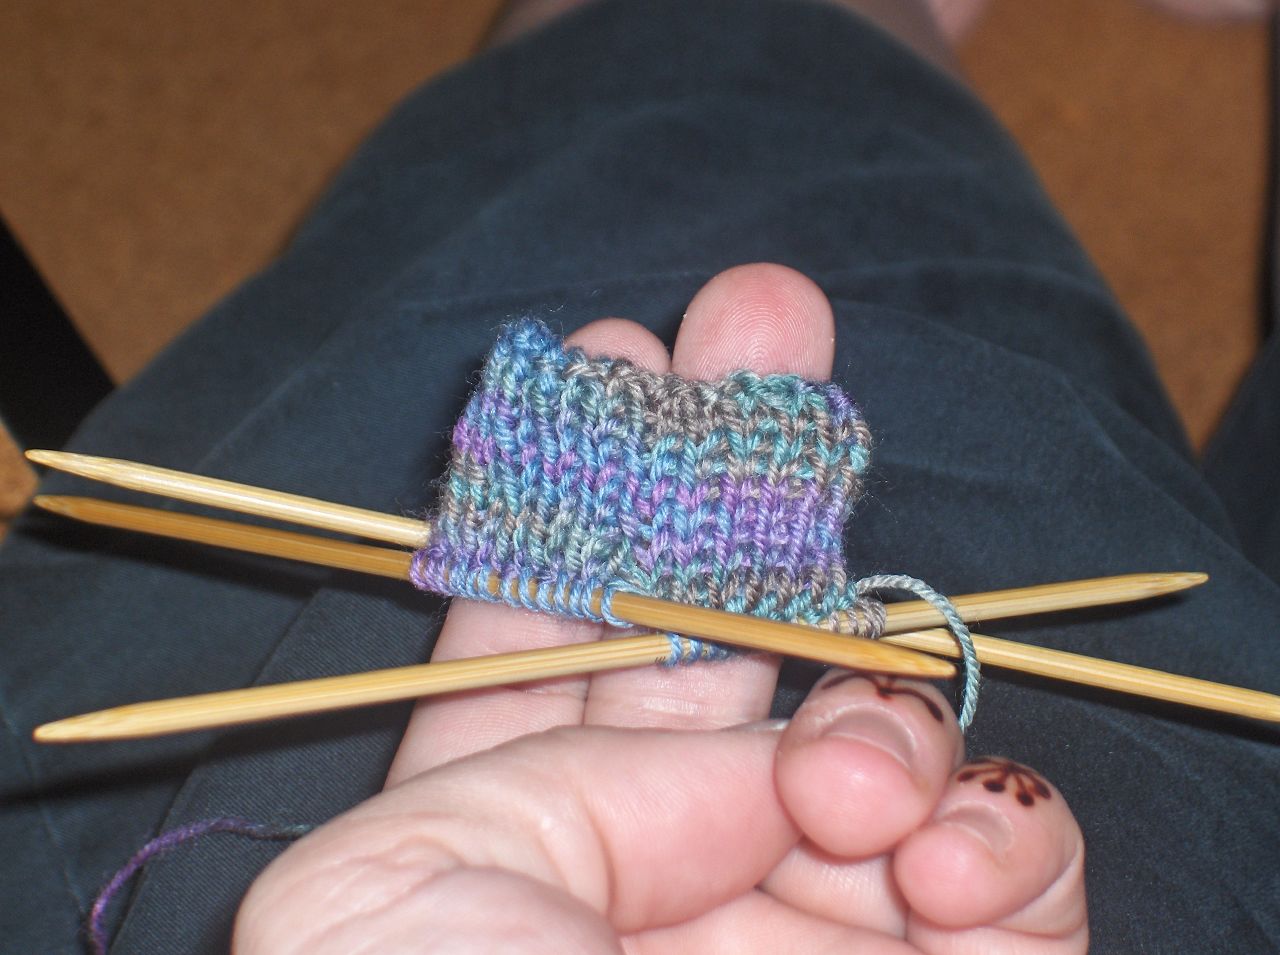
Thread half of the thumb toecap stitches (10) beside the finger toecap stitches. Which side of the toecap really doesn’t matter. I like to try and ensure one of the long yarn tails is on this side, so if have any holes, I can close them when I weave in my loose ends.

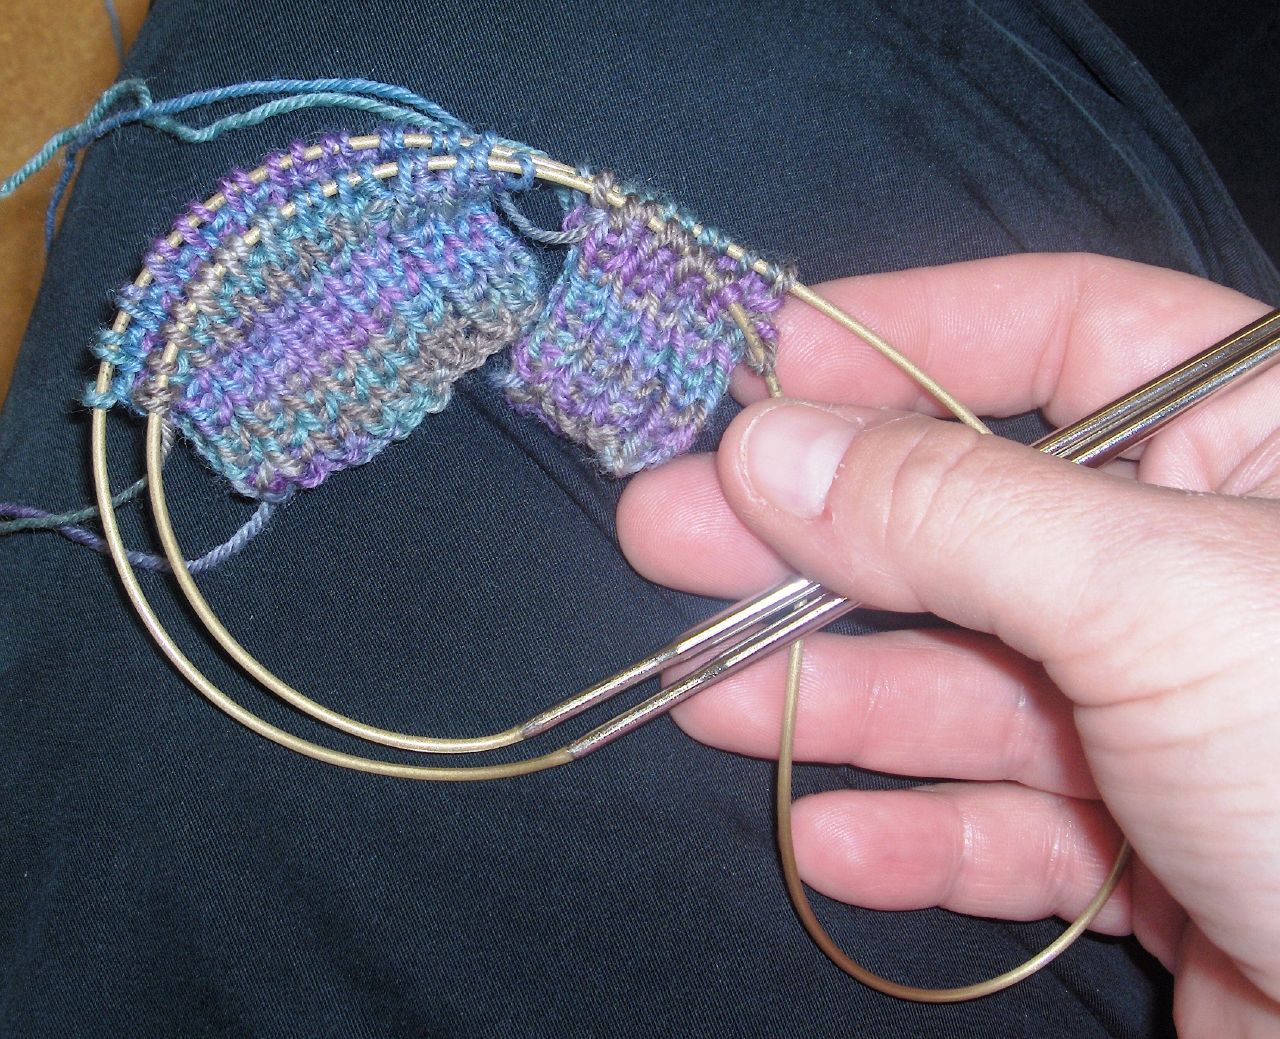
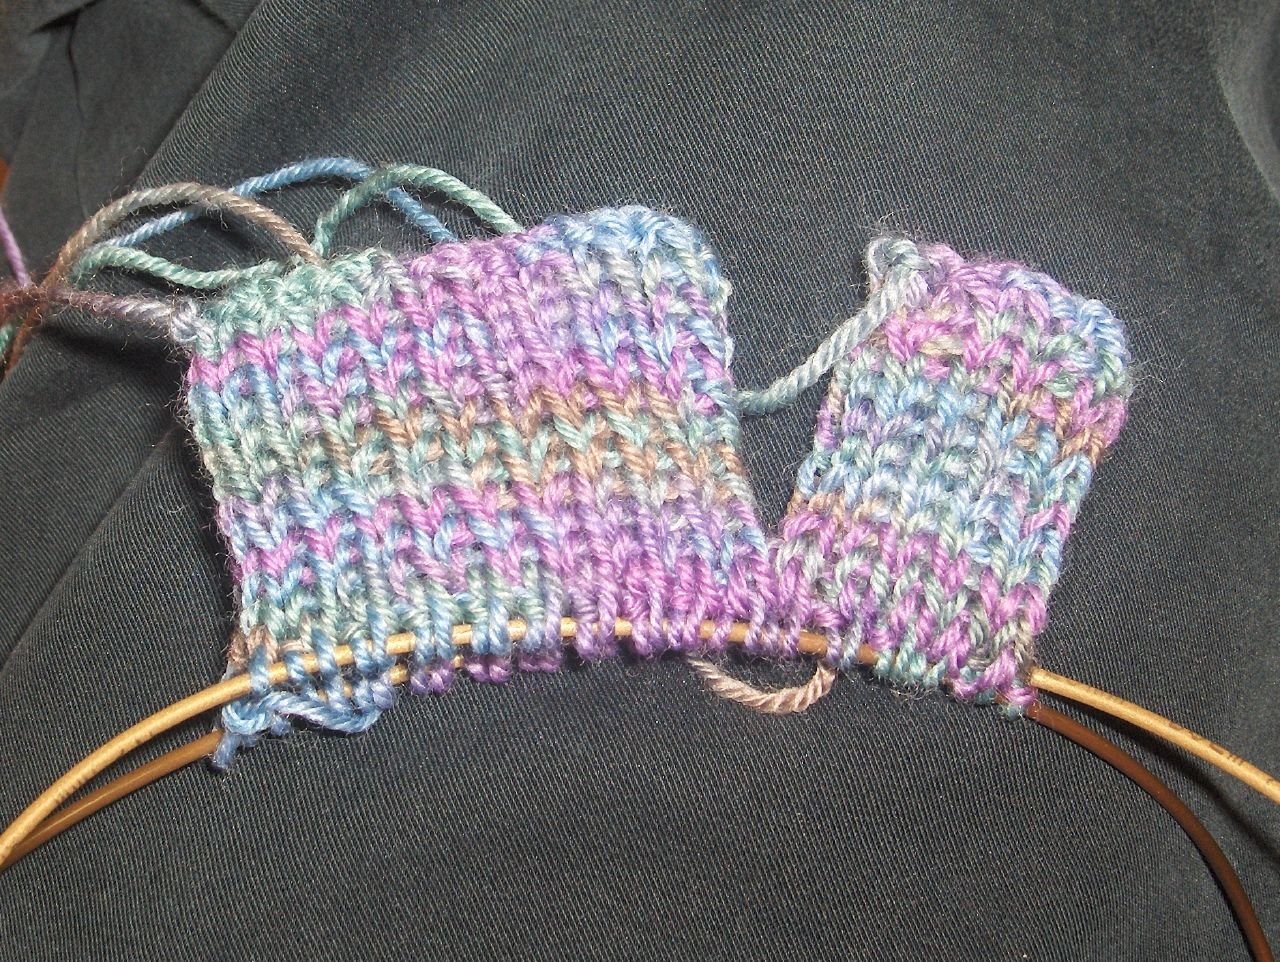
Pull the needle through (but not enough to lose the stitches you just placed on the needle), and loop the wire around if you plan to use one circular needle. If you are using 2 circular needles, this is the place to start using the second. Taking care not to close the slack between the two sides of the sock, begin to thread the last 10 thumb toecap stitches on the needle.
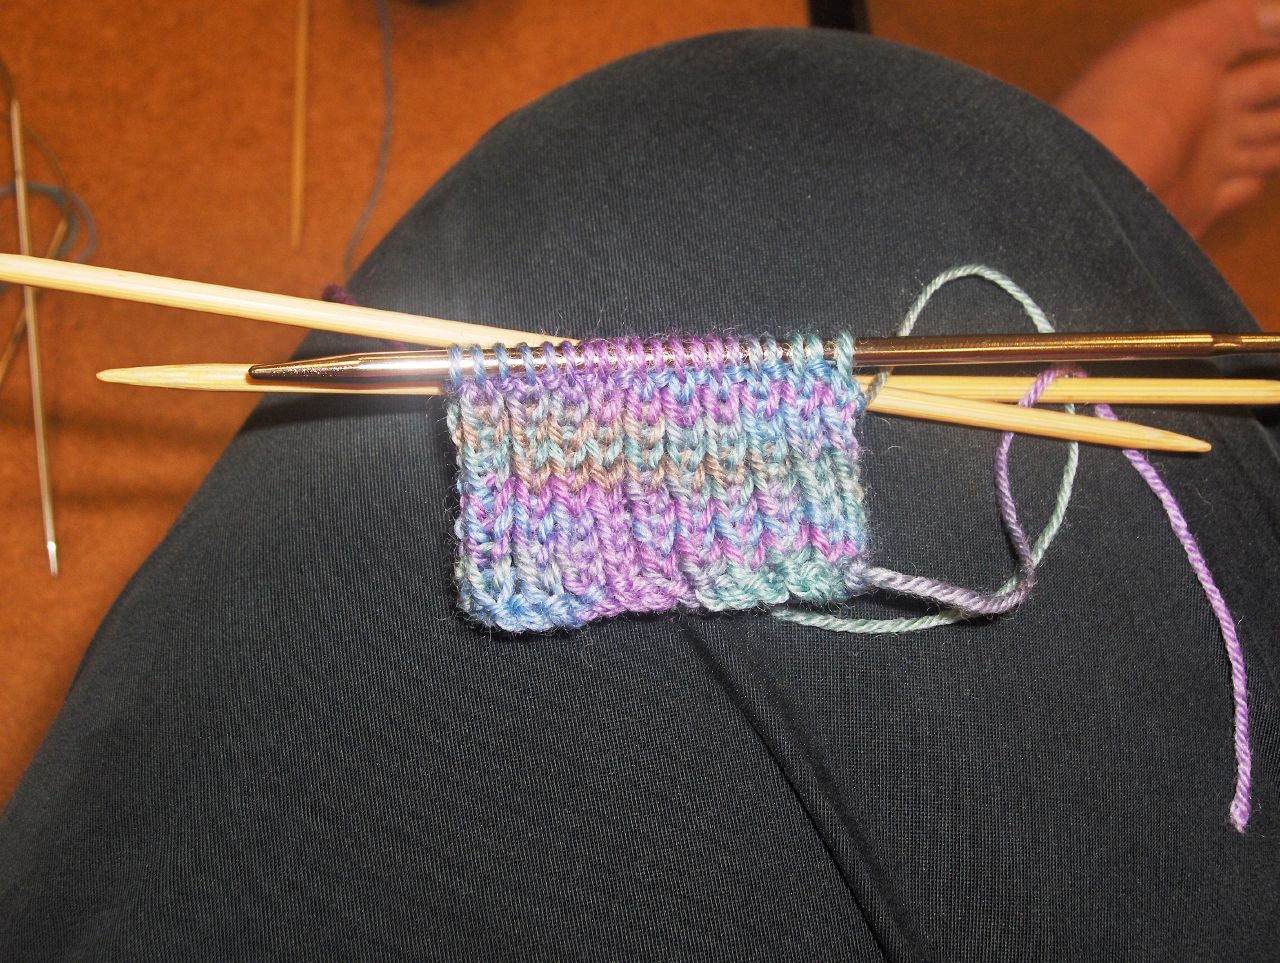
You are now ready to pick up the last 20 finger toecap stitches, the last one being the one with the yarn attached to the ball.
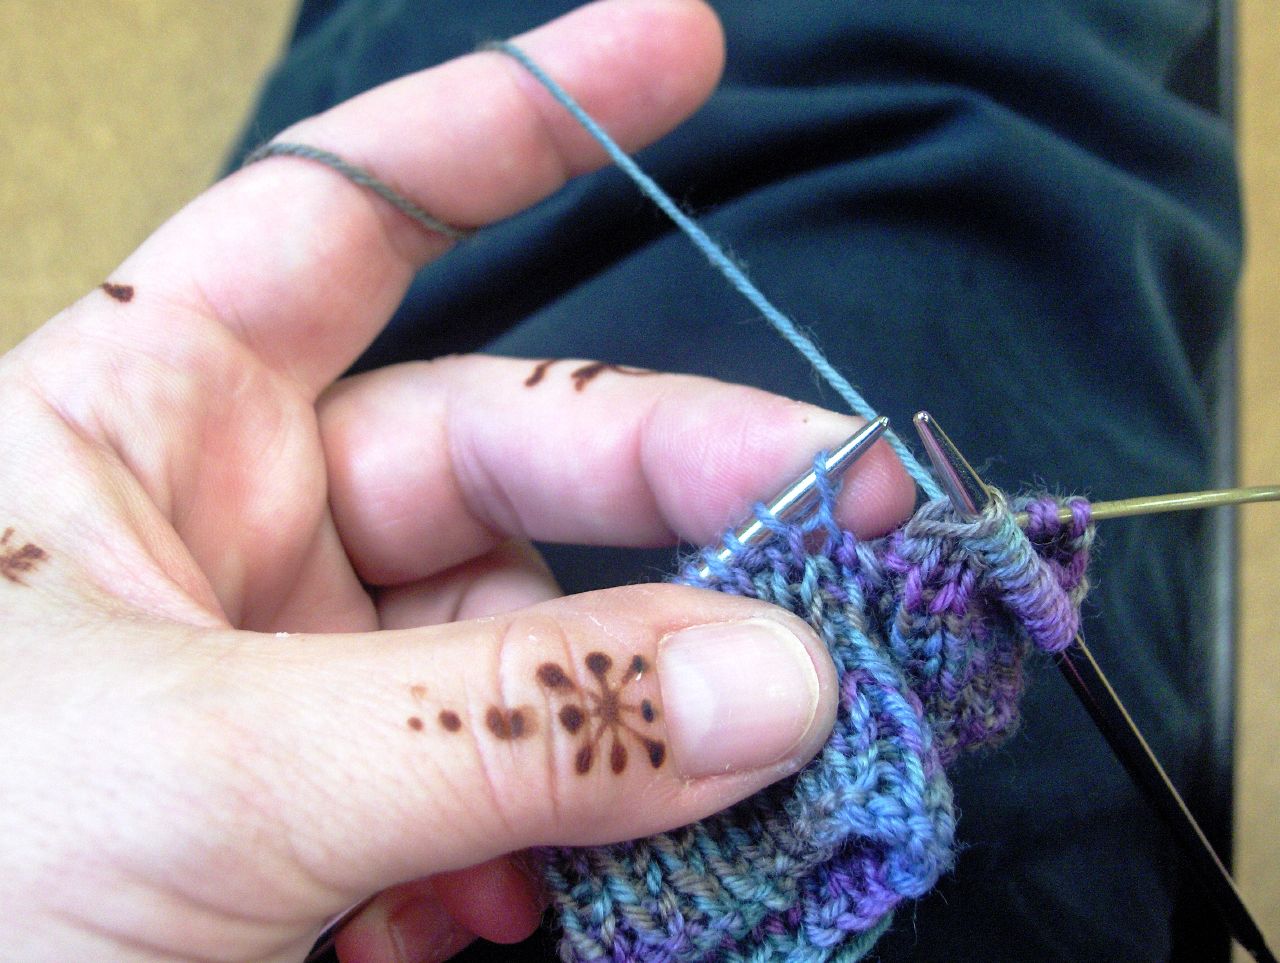
Turn work, and continue knitting for 19 stitches in the current knitting pattern, in this instance, K1P1. At the 20th stitch, pass to the right needle for holding. On the thumb toecap, between the front and back wire, use your needle to pick up the yarn there.
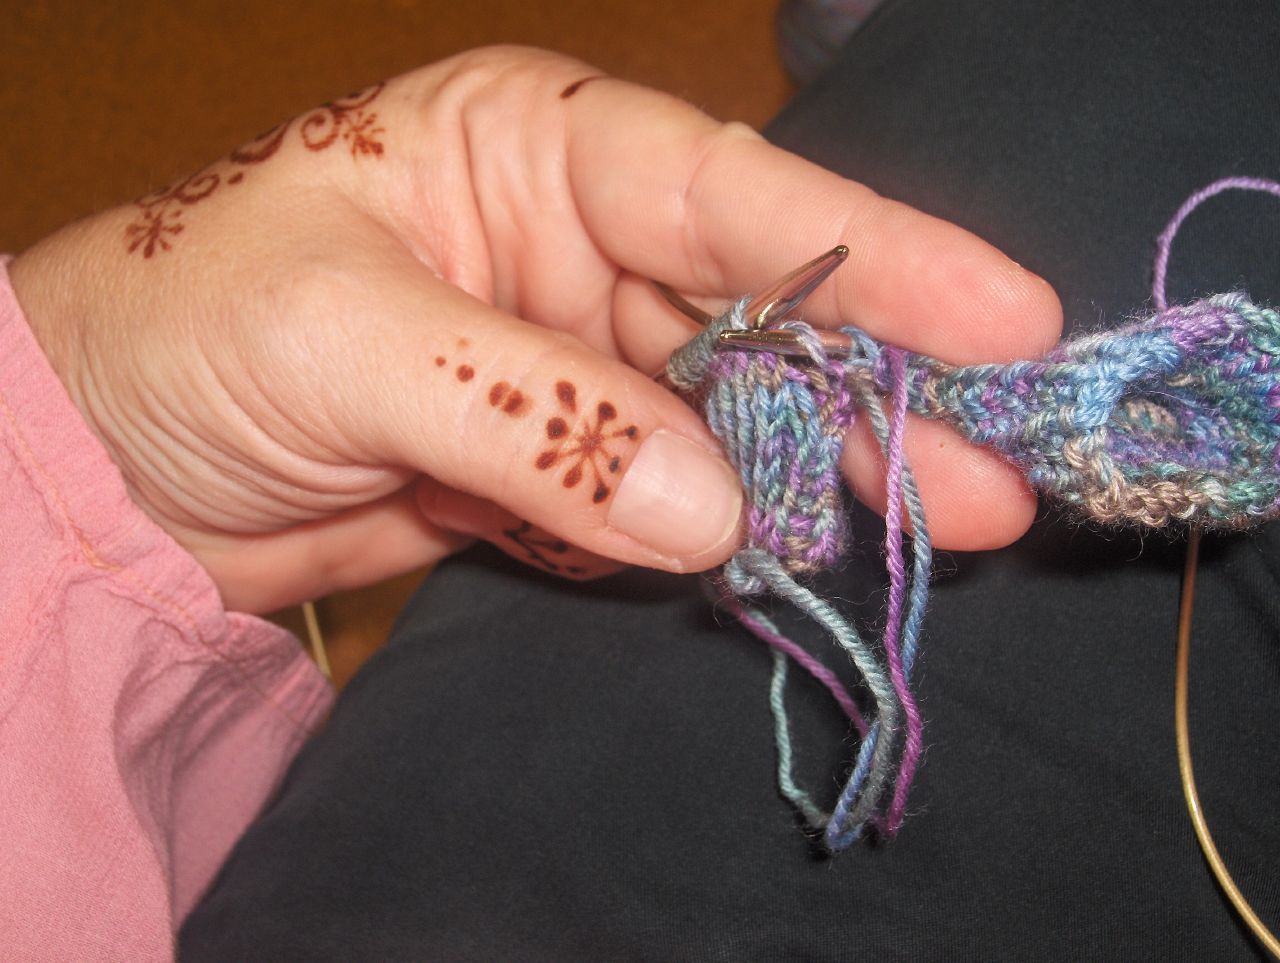
Give the loop a twist and add the newly created stitch to the left needle.

Replace the passed #20 stitch back on the left needle. Given the pattern used, slip the yarn and need to purl stitch #20 and the new created twisted stitch together.


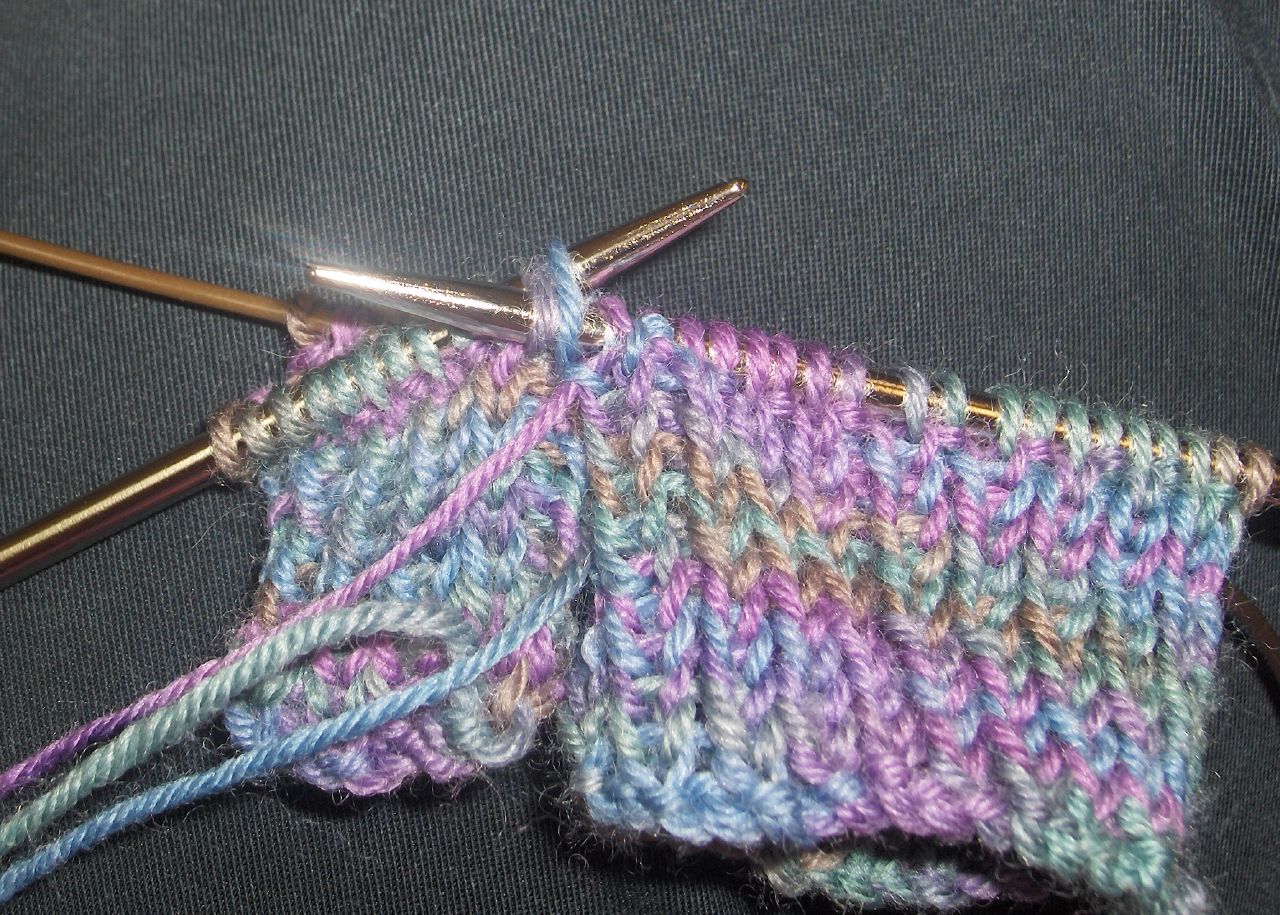
Continue K1P1 to end of row. Turn work, continuing pattern for 9 stitches (thumb toecap minus 1 stitch). Slip that #10 stitch to the right needle. Repeat the process for creating the new twisted stitch. Place the #10 stitch back on the left needle, and purl the #10 and new twisted stitch together.
Continue K1P1 pattern to end of row. You are now ready to work the sock in the round, and I continued to do so for 2 more rounds.

That’s it! If after further work on the sock, you notice some holes at the join site, use the leader yarn left to weave the holes closed while weaving the yarn ends secure.
Hopefully, this little tutorial was able to help or inspire you. If you have any questions, give me a shout out here, or on Ravelry, and I’ll be glad to give you whatever help I can.
By the way, I totally apologize for the quality of photos here. I usually try to do better than this, but the light was lousy, and I was stuck inside a cave today.


No comments:
Post a Comment