Okay, here’s the truth. I’m somewhat conflicted about Noro Kureon yarn. I know a lot of yarnies and knitters believe it’s just totally wonderful. I agree the colors are really nice. It’s one of the few variegated yarns that I enjoy the way the colors work themselves out, and no two skeins, while still in the right color families, are just exactly alike. However, Noro Kureon is not a very consistent yarn with regard to thickness. If you’re working with US 8 needles, it’s very likely you’ll get to a stretch of yarn that’s very thick and difficult to work. I don’t mind that, per se, but I don’t want all my yarn to do that. Also, the yarn is full of trash, like sticks, stems, leaves, etc. I have to stop and clean it out before knitting it. So, I’m a bit conflicted. There are projects where I do agree the results can be stunning.
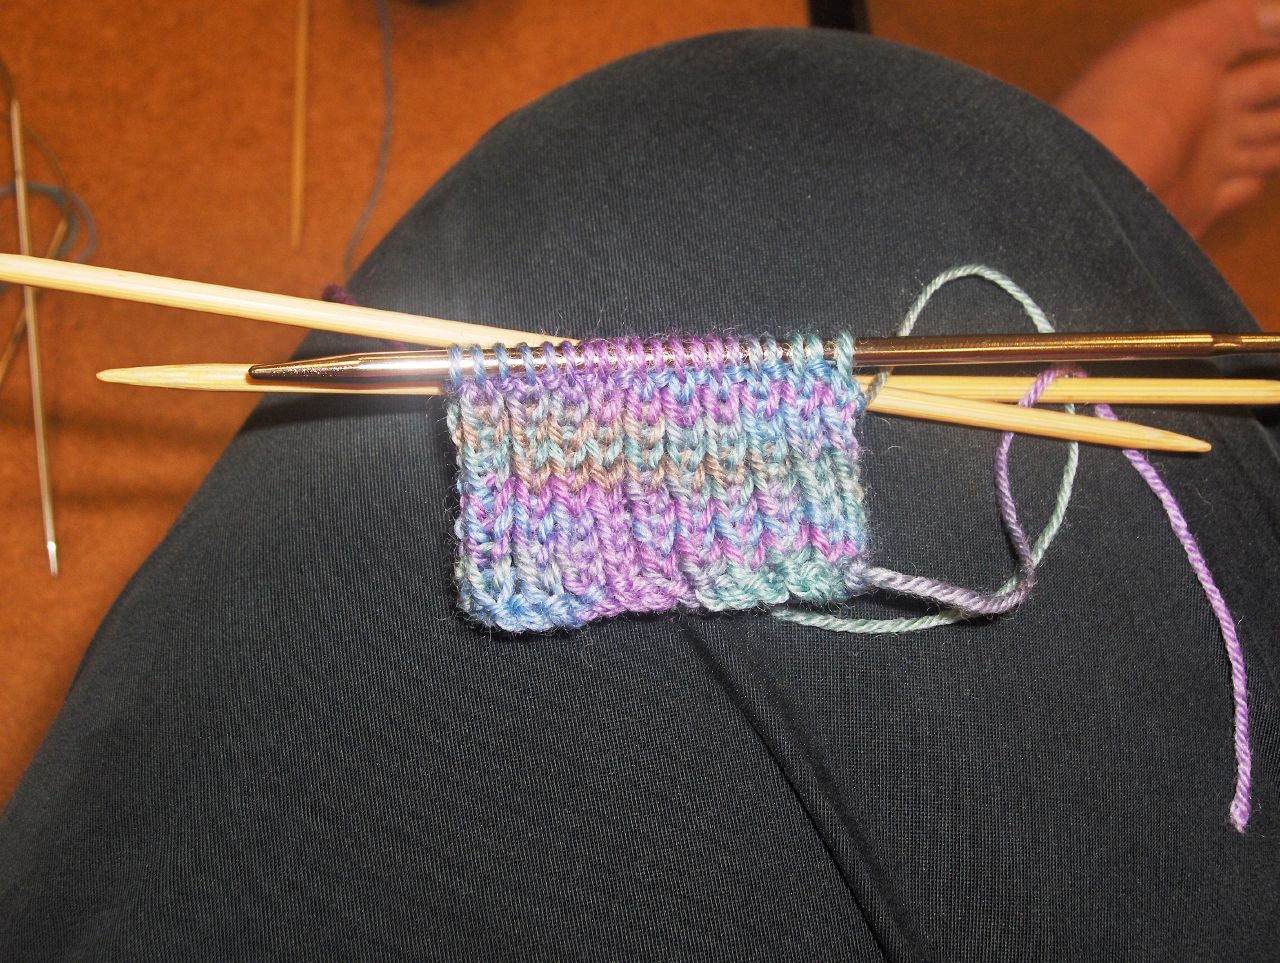
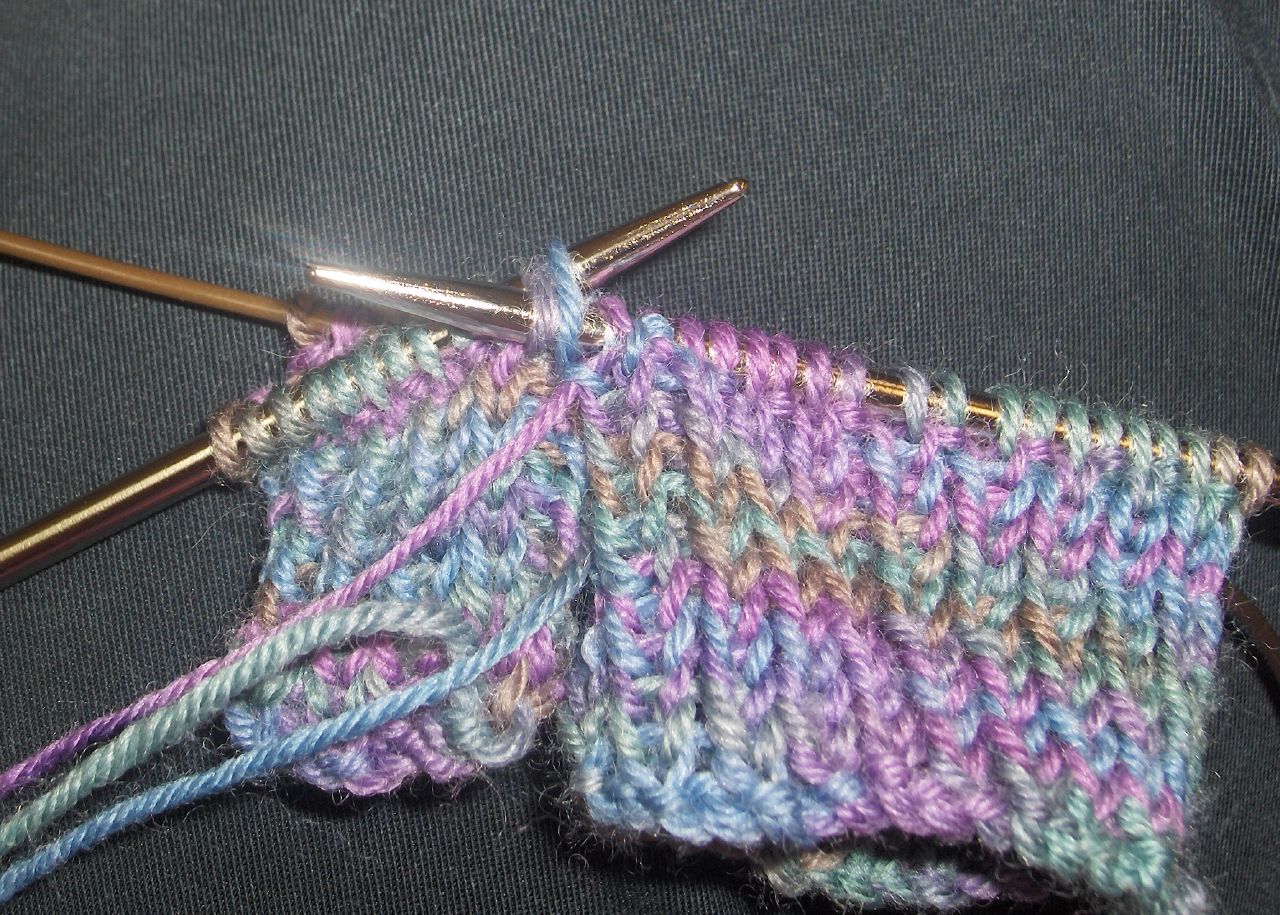
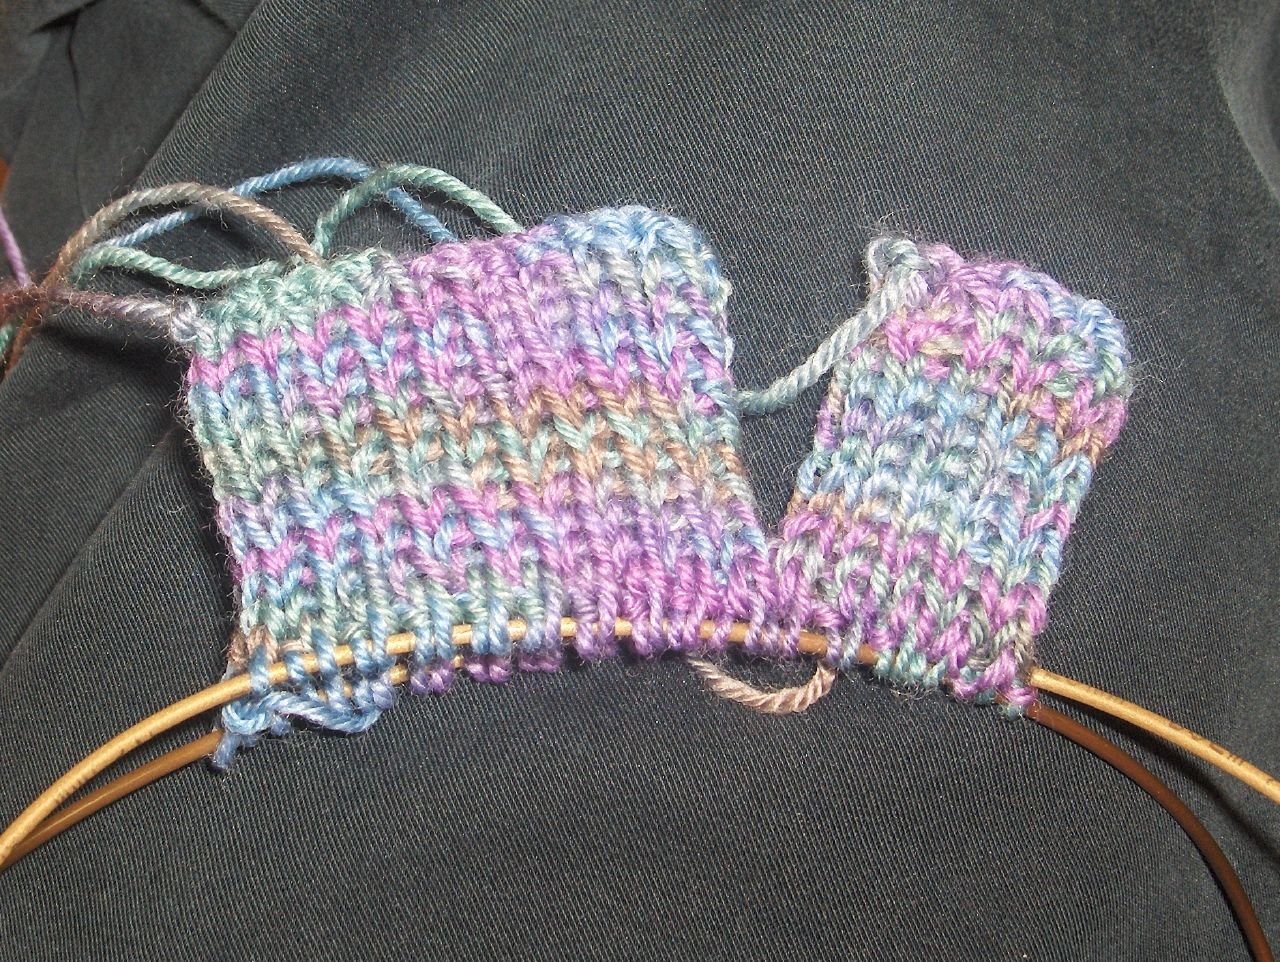
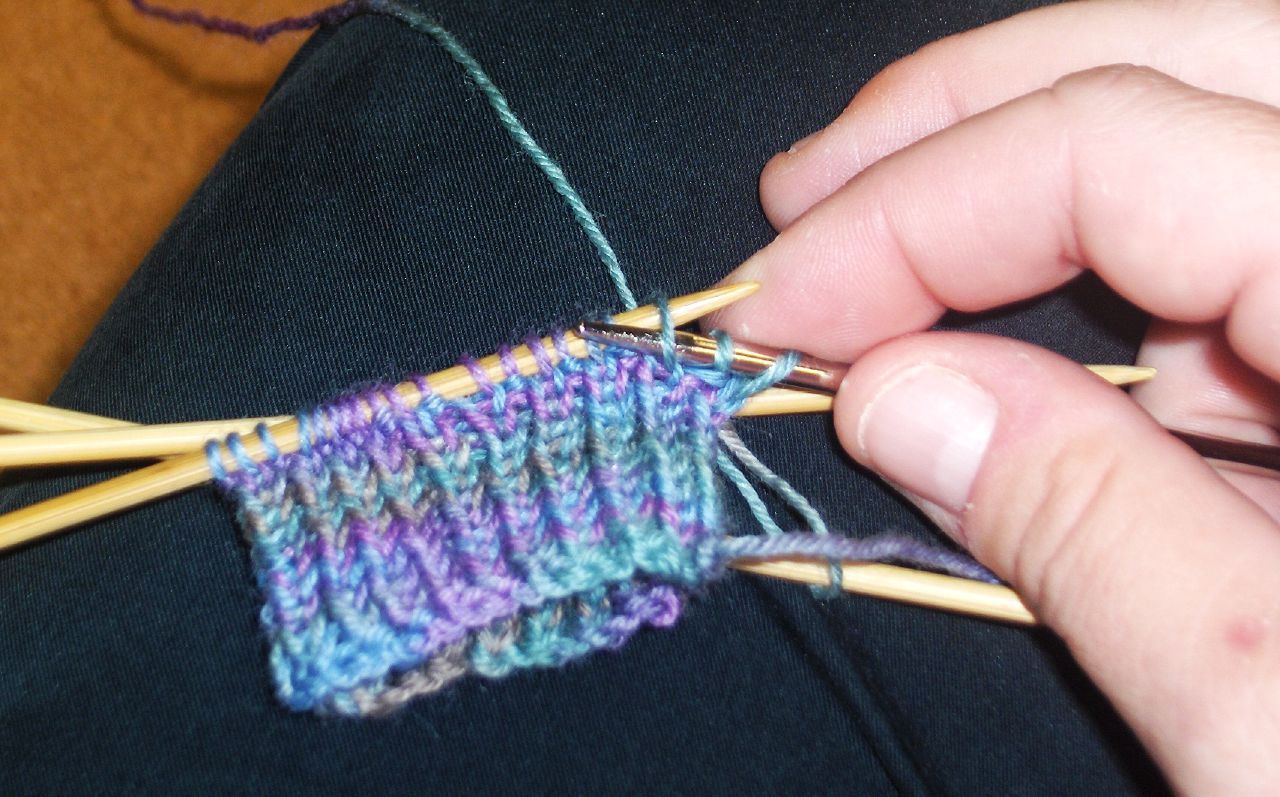
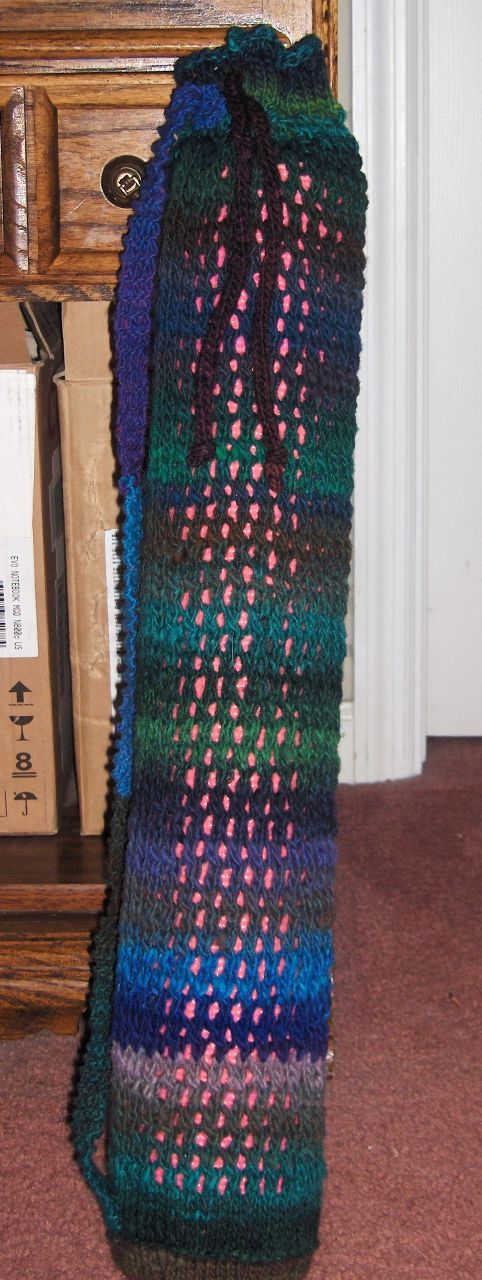
Anyway, I had a few skeins, some time and a need. I got to work. I created a yoga mat bag, because I needed one. I had 3 skeins of fairly similar colors (2 of one dye lot, 1 of another), so I had to be clever and economical in how I designed it, and I was frustrated with one of my sock projects where I used the wrong needles and made yoga socks for a Yeti.
I decided not to use cotton yarn on this. I have read through some finished projects on
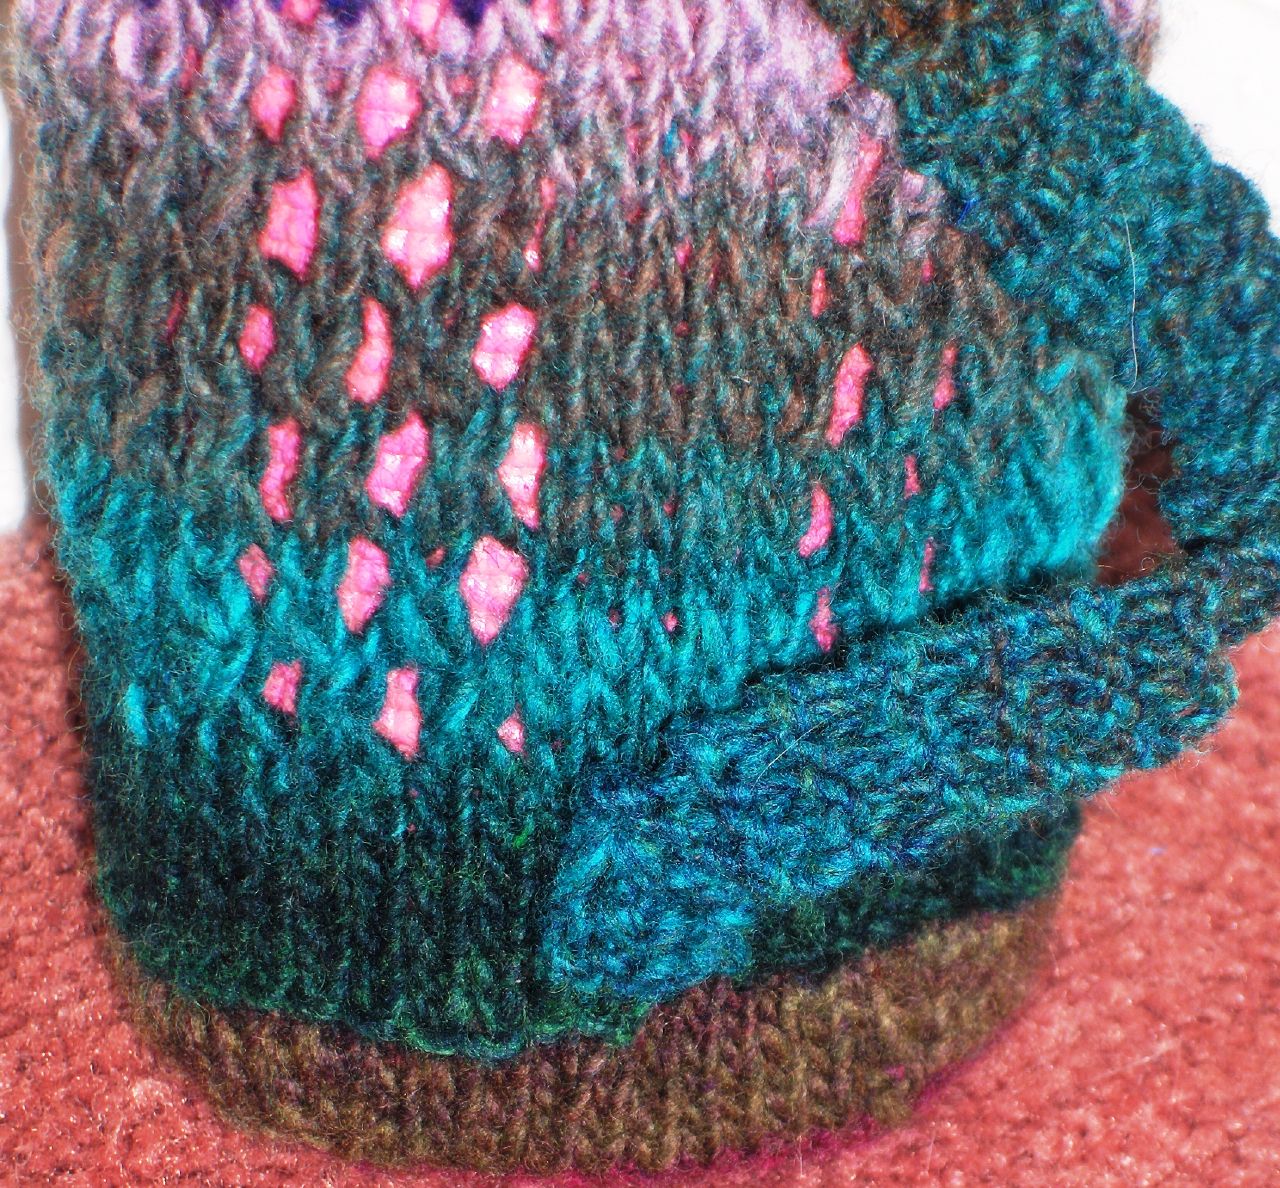
Ravelry, and overwhelmingly, those that used cotton complained about the stretching and ‘growing’ that accompanies cotton. Not an uncommon issue and is a tradeoff for being able to throw the thing in the washer/dryer. Making mine out of Kureon insures a requirement of hand washing and lying flat to dry. I also knew I had to deal with the idea of the yarn giving, so I decided to make it work for me, as opposed to against me. I used a vertical lace trellis from Barbara Walker’s Treasury of Knitting Patterns (pg. 191) and actually made the bag SMALLER than necessary. Yes, you read that correctly. The bag is NOT made to the size of the mat. It’s made smaller, and the lattice allows for the stretch both horizontally and vertically. This also allows me to use almost half the amount of yarn for my bag as other bags require.
You’ll see.
 Namaste Yoga Mat Bag
250 yards of worsted weight yarn (I used 2.5 skeins of Noro Kureon)
Size US 10.5 dpns or circular needles
Size US 7 dpns or circular needles
Tapestry needle.
Lace trellis pattern:
Row 1 – knit all
Row 2 – K3, *YO, K2tog*, repeat from * to end
Row 3 – Knit all

Row 4 – K2, *SSK, YO*, repeat from * to 1 remaining stitch, K last stitch.
To BeginWith size US 10.5, cast on 61 stitches (If you’re altering the pattern, the lace trellis requires an odd number of stitches)
Bag BodyRows 1 – 5 – Knit all.
Row 6 – Begin 1st row of lace trellis pattern (which is also a knit row)
Row 7 and on – complete lace trellis pattern
You will continue with the 4 row lace trellis pattern until the work stretches easily (with little effort) the required width of your mat. My mat is 25” wide. For me, I needed 27 repeats of the pattern at an unstretched length of 20” (stockinette and lattice).
Knit 3 rows (in stockinette stitch) until last stitch of the 3rd round. K2tog (with 1st stitch of the round), and move to the right needle.
Next row, begin with a YO, *K7, K2 tog, YO* repeat from * until last 6 stitches. K6 to end
Knit 3 rows.
Complete Row 2 from Lattice Pattern – (K3, *YO, K2tog* repeat from * to end).
Knit 1 round.
Bind off purl wise loosely.
Bottom of bagThis will be a series of decreases, much like those used on the top of a skull cap knit in the round. The smaller needles give you a more dense fabric to withstand more weight and pressure.
Change to US #7 needles.
On the opposite side of the cast on edge, pick up 61 stitches. [Note: I actually had to make a personal adjustment here, and pick up 63, and K2tog at 30 and 60 stitches on the first round]
Round 1 – Knit all
Round 2 – Knit all
Round 3 – K 6, K2tog until 5 stitches remain. K5 to end.
Round 4 – Knit all
Round 5 – K 5, K2tog until 5 stitches remain, K5 to end
Round 6 – Knit all
Round 7 – K4, K2tog until 5 stitches remain, K5 to end
Round 8 – Knit all
Round 9 – K2tog around
Round 10 – Knit all
Cut yarn and pull tail through loops. Pull secure and weave loose ends.
I cordI cord specifically isn’t necessary, but it’s what I used. If you need a good tutorial,
here's one with pictures. However, you can use a braided cord, finger knitting or purchased ribbon. Whatever you use, you need about 25” of it. Thread it thorough the YO holes in the stockinette band at the top of the bag.
Carry Strap 
This is probably the most complicated part of the bag, due to the method of attachment. Just go with it, and it does work.
Use US #10.5 needles.
Pick up 4 stitches at the CO edge at the bottom also along the stockinette rib that runs up the side. This will be in garter stitch to give some texture. Knit 4. Turn. Knit 4. Turn. Pick up 1 stitch from the stockinette and place on left needle. K2tog with 1st live stitch. (You are securing the strap while knitting the 3rd row). Do this with the 3 remaining live stitches on the left needle, picking up stitches from the stockinette, and K2tog.
Turn work, and knit across.
Turn work and do another row of PU stockinette stitch, K2tog to end.
That makes 3 rows that were attached to the stockinette rib. From this point, knit in straight garter (knit all rows) until strap, unstretched, just reaches the rows of stockinette at the top of the bag. Given the size of the needles and the garter stitch, there is a lot of give in the strap, and requires no extra knitting. Here’s another area where I had gauge and yarn work for me.
Carefully turn strap under, taking care not to twist strap. Pick up 1 stockinette stitch, slide onto left needle and K2tog. Repeat this process with the 3 remaining live stitches on the left needle. Turn work and knit across. Repeat the PU 1, K2tog row. Turn and knit across. Last row is a PU1, K2tog row. After this, break yarn and thread tail through the loops, carefully pulling taunt. Weave loose ends.

This pattern is the property of Jenni P McD and all rights are reserved. It is provided free for your personal, not commercial use. If you wish to post or use this pattern, please contact me for permission. Thank you. This pattern is also listed on Ravelry for your convenience.


 Okay, here’s the truth. I’m somewhat conflicted about Noro Kureon yarn. I know a lot of yarnies and knitters believe it’s just totally wonderful. I agree the colors are really nice. It’s one of the few variegated yarns that I enjoy the way the colors work themselves out, and no two skeins, while still in the right color families, are just exactly alike. However, Noro Kureon is not a very consistent yarn with regard to thickness. If you’re working with US 8 needles, it’s very likely you’ll get to a stretch of yarn that’s very thick and difficult to work. I don’t mind that, per se, but I don’t want all my yarn to do that. Also, the yarn is full of trash, like sticks, stems, leaves, etc. I have to stop and clean it out before knitting it. So, I’m a bit conflicted. There are projects where I do agree the results can be stunning.